Keloola Project · MCP setup guide
Connect Keloola Project to your AI client
Use this guide to connect Claude, Codex, or ChatGPT to Keloola Project. Your client signs in directly to Keloola SSO; this MCP server only receives and validates the access token.
client_secret in this project or paste one into your AI client. OAuth client registration and the authorization flow belong to Keloola SSO.Before you start
- Use a public HTTPS URL for the MCP server. AI clients cannot connect to a private localhost address.
- Make sure you can sign in to Keloola SSO and have access to the intended Project organization.
- Ask your SSO administrator to register the AI client or enable Dynamic Client Registration (DCR).
- Keep this page open during setup; you will need the endpoint below.
Connection details
All clients use one remote, streamable HTTP MCP endpoint. Copy this value exactly into the client's MCP server URL field.
http://mcp.keloola.xyz/mcp/keloola| Setting | Value |
|---|---|
| Server type | Remote MCP / Streamable HTTP |
| Server URL | http://mcp.keloola.xyz/mcp/keloola |
| Authentication | OAuth 2.0 via Keloola SSO |
| Protected-resource metadata | http://mcp.keloola.xyz/.well-known/oauth-protected-resource |
Do not use a manually copied bearer token unless your client specifically requires it for a short-lived test. Normal operation should start the OAuth sign-in flow.
Sign in with Keloola SSO
After you add the server, the client discovers the authorization server from protected-resource metadata and opens Keloola SSO in a browser.
- Choose OAuth authentication when the client asks.
- Sign in on the Keloola SSO page—not on the MCP server.
- Review the requested permissions and approve access for the correct organization.
- Return to the client. It stores the resulting token and reconnects to Keloola MCP.
Expected authorization server: https://sso.keloola.xyz.
Verify the connection
Once connected, begin with a read-only request. This confirms that OAuth, organization access, and the MCP server are all working.
- Ask the client to list available Keloola tools.
- Ask: “Show my Keloola Project organizations.”
- Then ask: “List my Keloola projects.”
- Only after the results are correct, allow actions that create or modify data.
list-organizations, then select one with switch-organization.Set up Codex
In a terminal where Codex is installed, add the remote server. Codex will use the server's OAuth discovery when connecting.
codex mcp add keloola --url 'http://mcp.keloola.xyz/mcp/keloola'
- Run the command above.
- Start a Codex session and connect to
keloola. - Complete the Keloola SSO browser sign-in if prompted.
- Use a read-only prompt to verify the connection.
If your SSO does not support DCR, provide the public Codex OAuth client ID through SSO registration; do not use a client secret.
Menyiapkan Claude
Ikuti langkah-langkah berikut untuk menghubungkan Claude dengan Keloola MCP menggunakan OAuth.
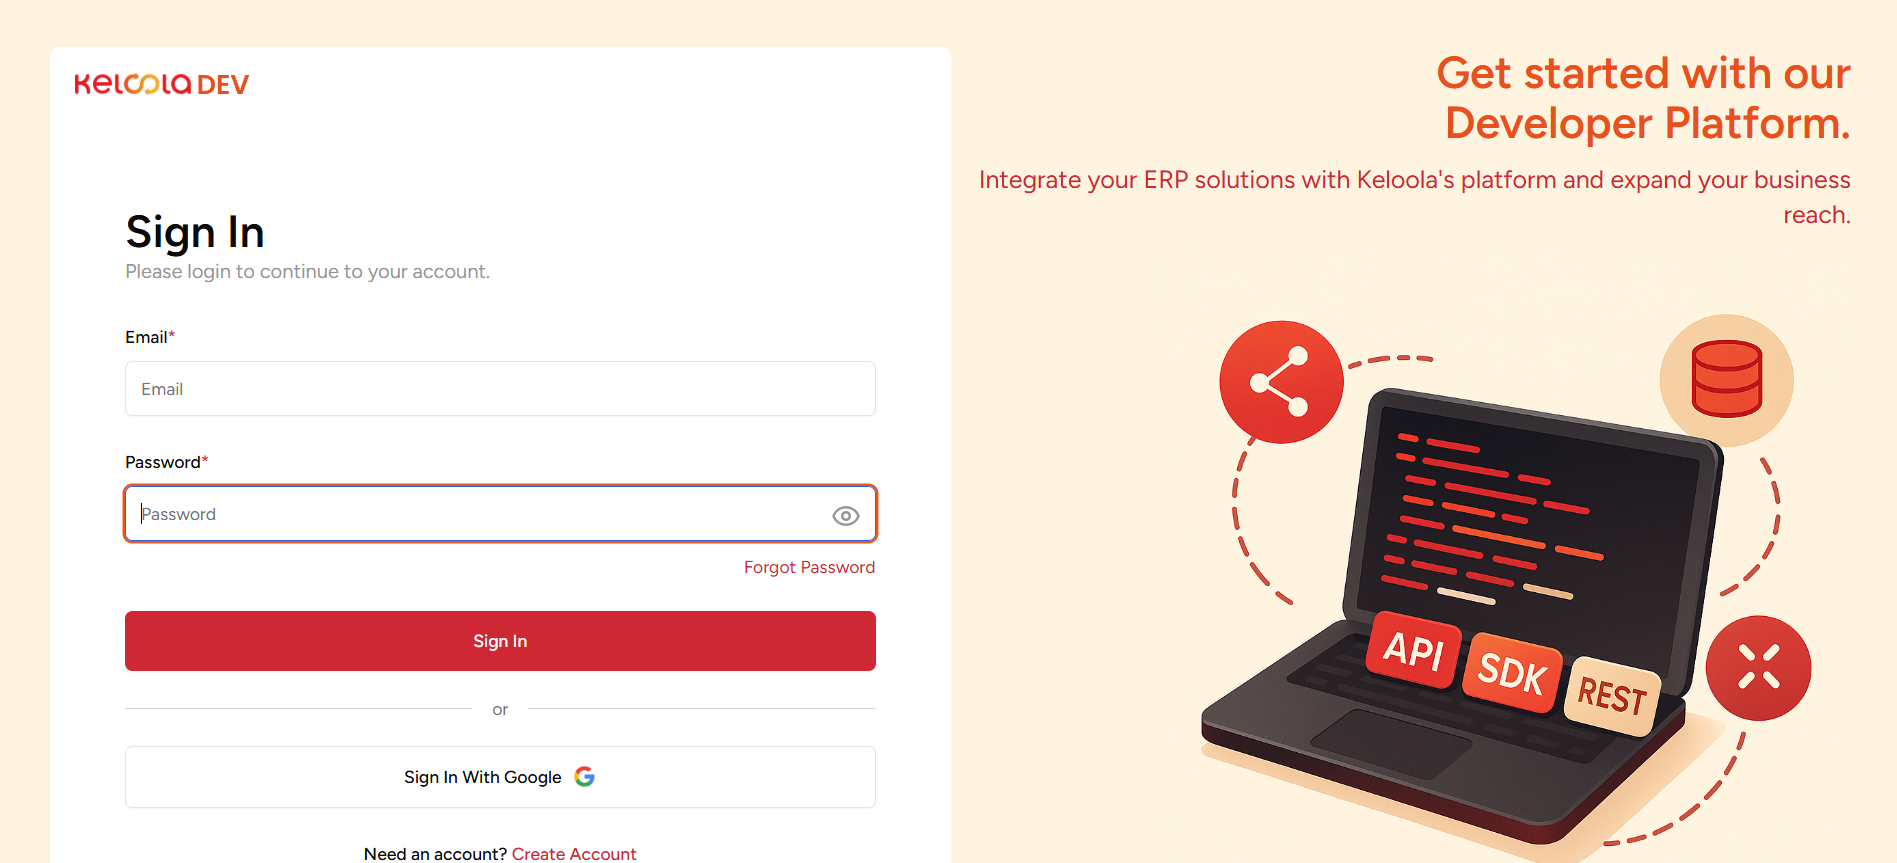
1. Login ke Keloola Developer
Pertama, buka halaman Keloola Developer melalui:
Login menggunakan akun Keloola Anda.
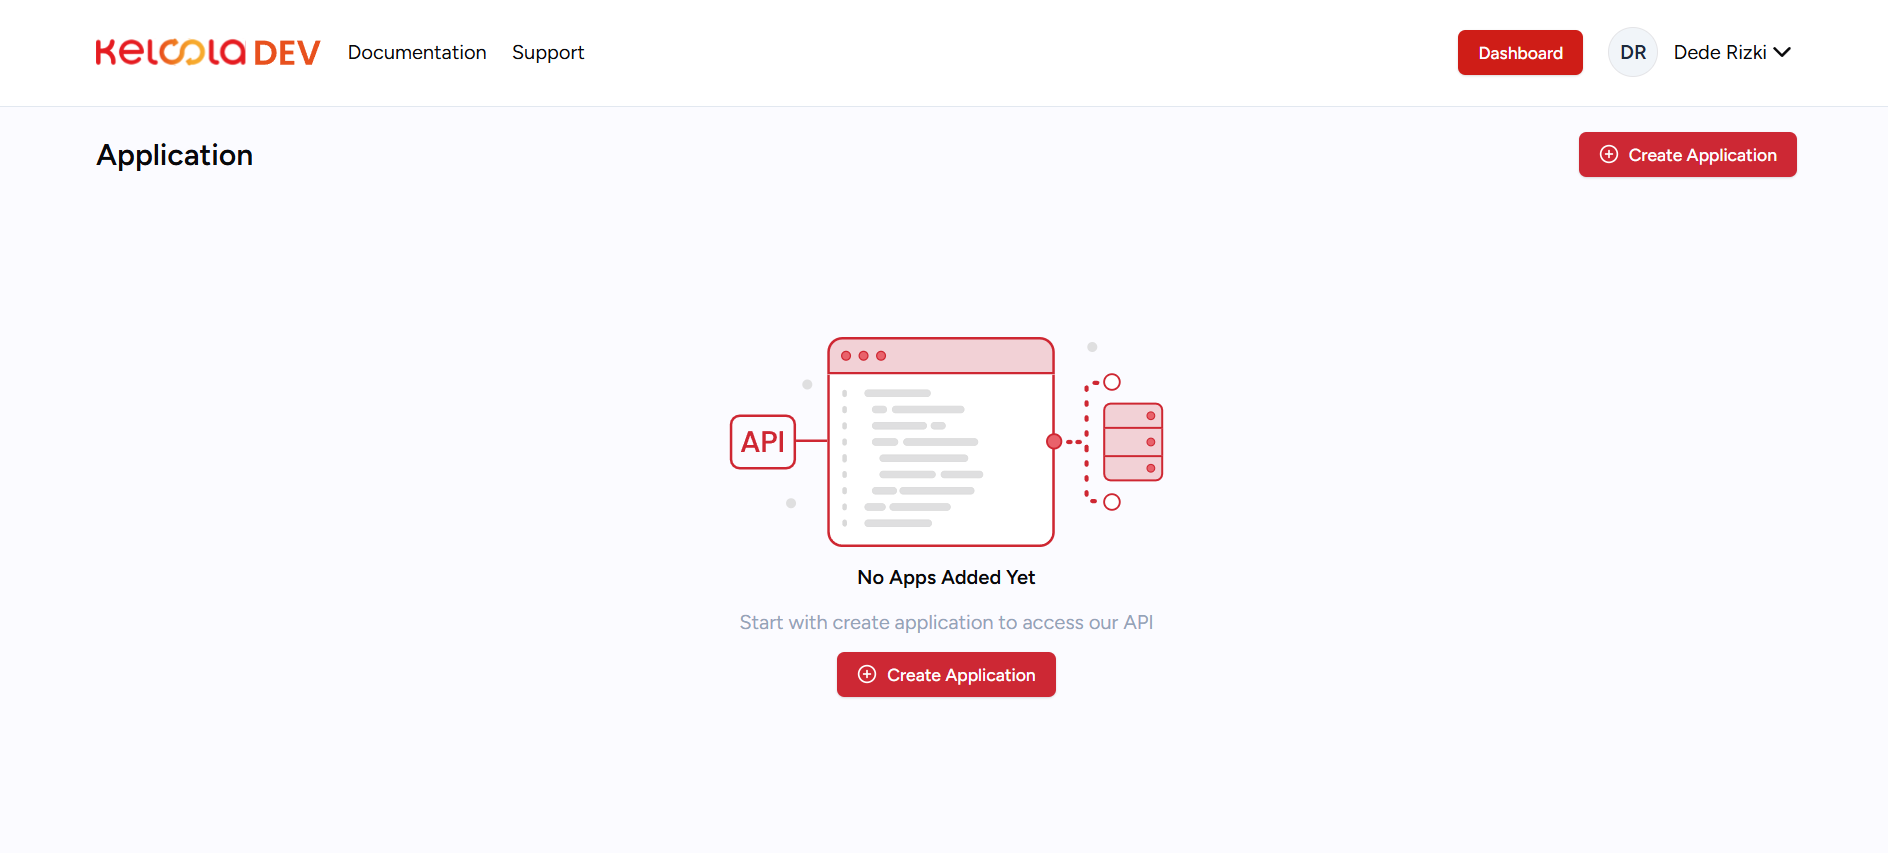
2. Buat Application Baru
Setelah berhasil login, kemudian klik Create Applications,
3. Isi Form Application
Isi informasi application sesuai kebutuhan. Pastikan data yang dimasukkan sudah benar sebelum melanjutkan.
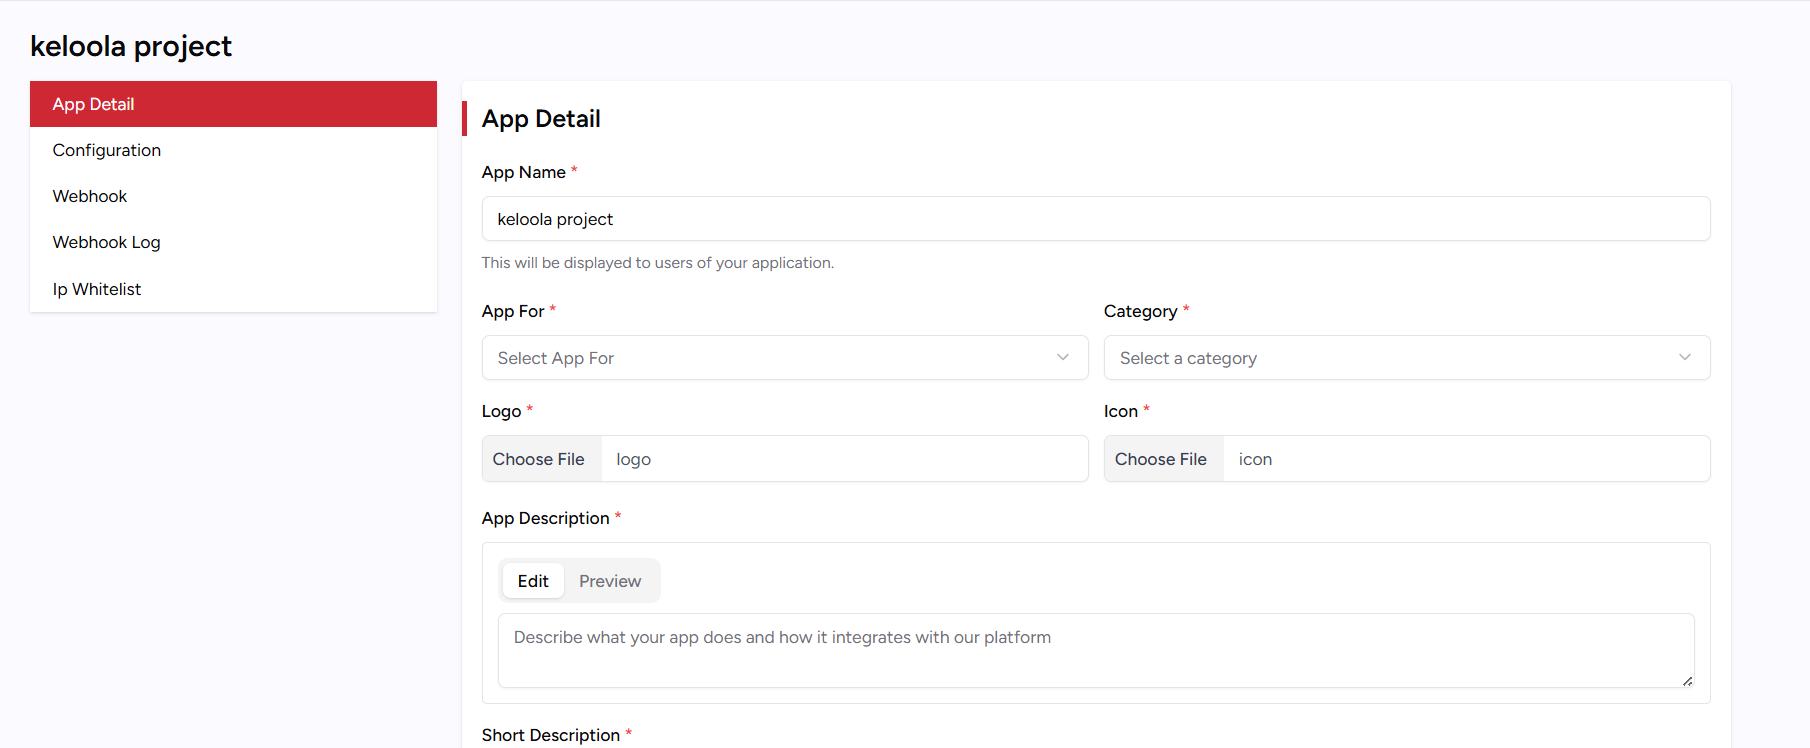
Setelah semua data di rasa sudah benar. Klik Save & publish.
4. Isi Form Configuration
Setelah application berhasil dibuat dan sudah di-Publish, lanjutkan ke menu Settings → Configuration.
Pada bagian Redirect URI, isi dengan:
https://claude.ai/api/mcp/auth_callback
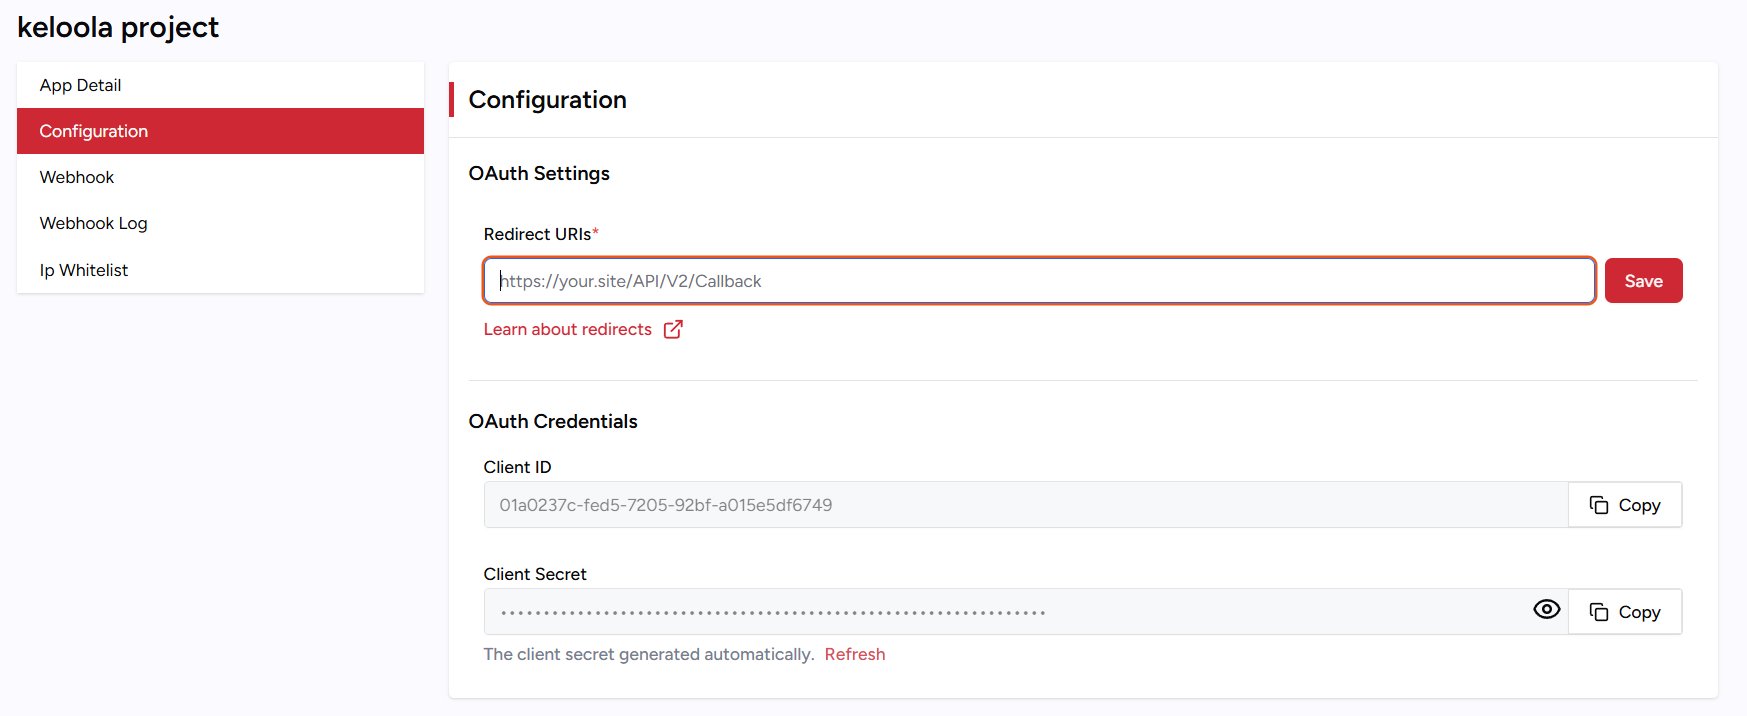
Setelah terisi, klik Save lalu Copy Client ID & Client Secret yang di dapat.
6. Buka Pengaturan Claude
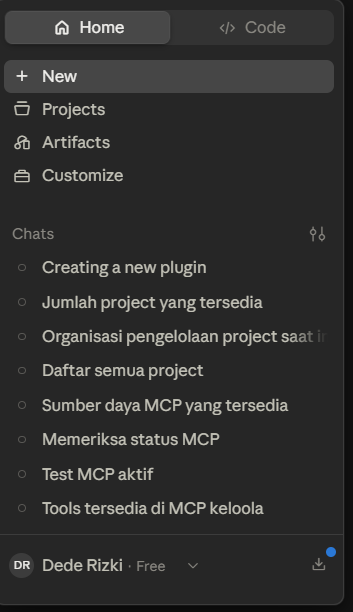
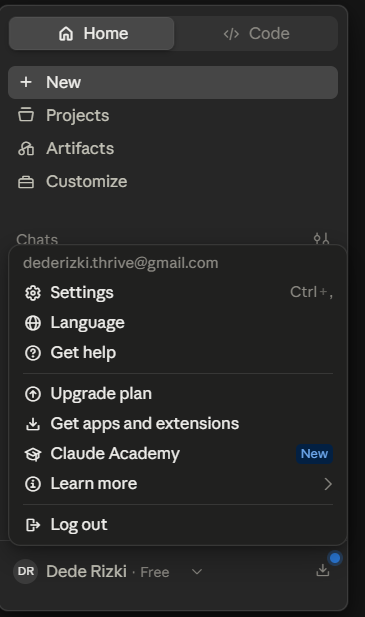
Setelah Claude terbuka, klik ikon tiga garis di pojok kiri atas untuk membuka menu navigasi. Selanjutnya, pilih Profile, kemudian pilih Settings untuk membuka halaman pengaturan Claude.
7. Tambahkan Custom Connector
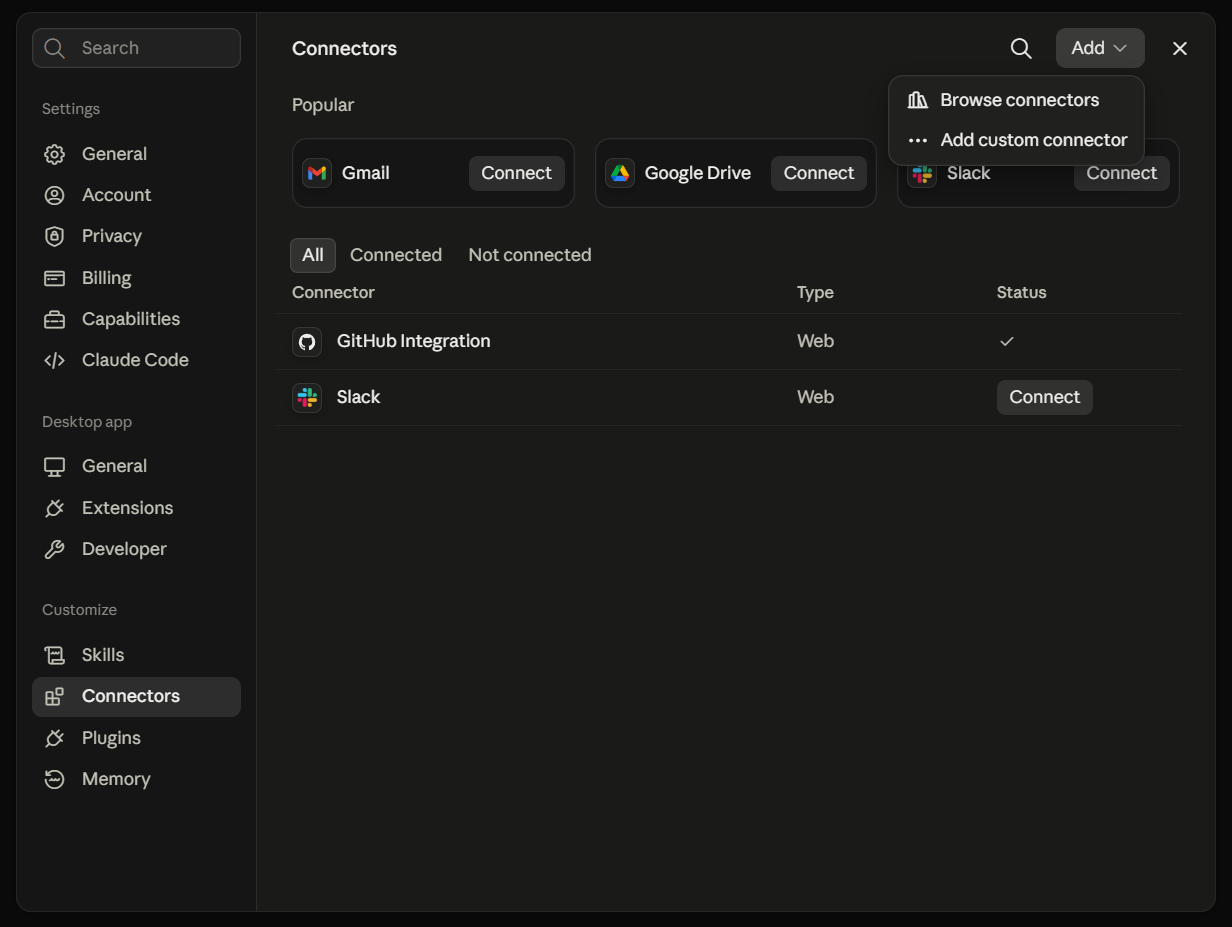
Ketika halaman Settings sudah terbuka, klik Connector, lalu klik Add dan pilih Add custom connector.
8. Isi Form Add Custom Connector
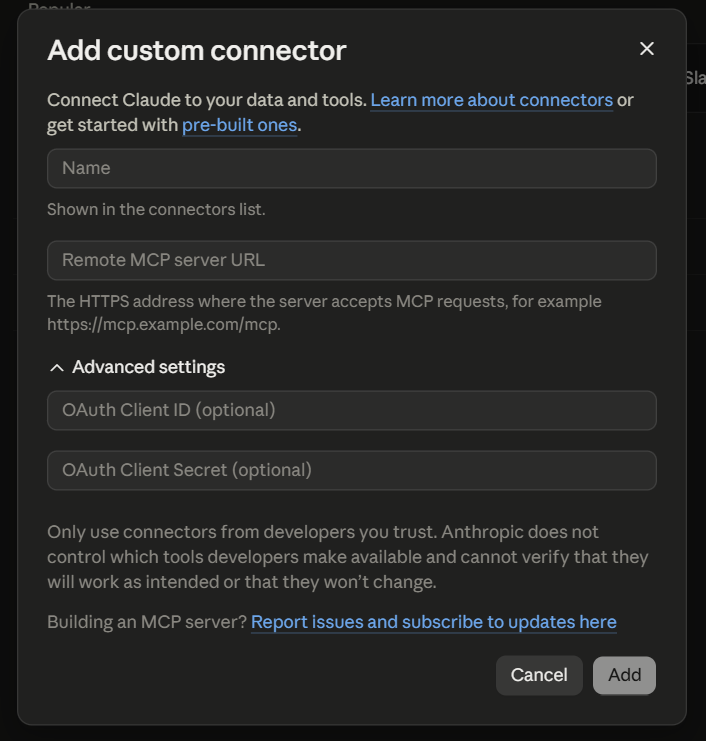
Setelah klik Add custom connector, akan terbuka form untuk mengisi Name, MCP Server URL, Client ID, dan Client Secret. Untuk Client ID dan Client Secret, isi dengan data yang Anda dapatkan dari https://developer.keloola.xyz/ .
9. Simpan dan Connect
Setelah semua data terisi, klik Save lalu klik Connect untuk melanjutkan proses koneksi MCP.
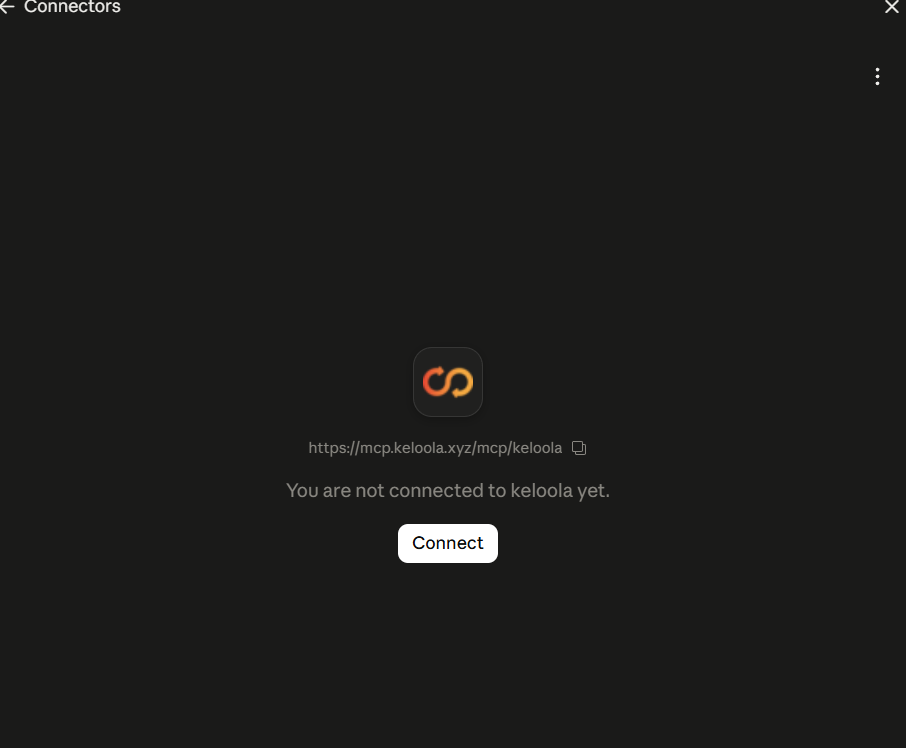
10. Login ke Keloola SSO
Setelah klik Connect, Claude akan diarahkan ke halaman login Keloola SSO. Masukkan email dan password Anda untuk melanjutkan proses login.
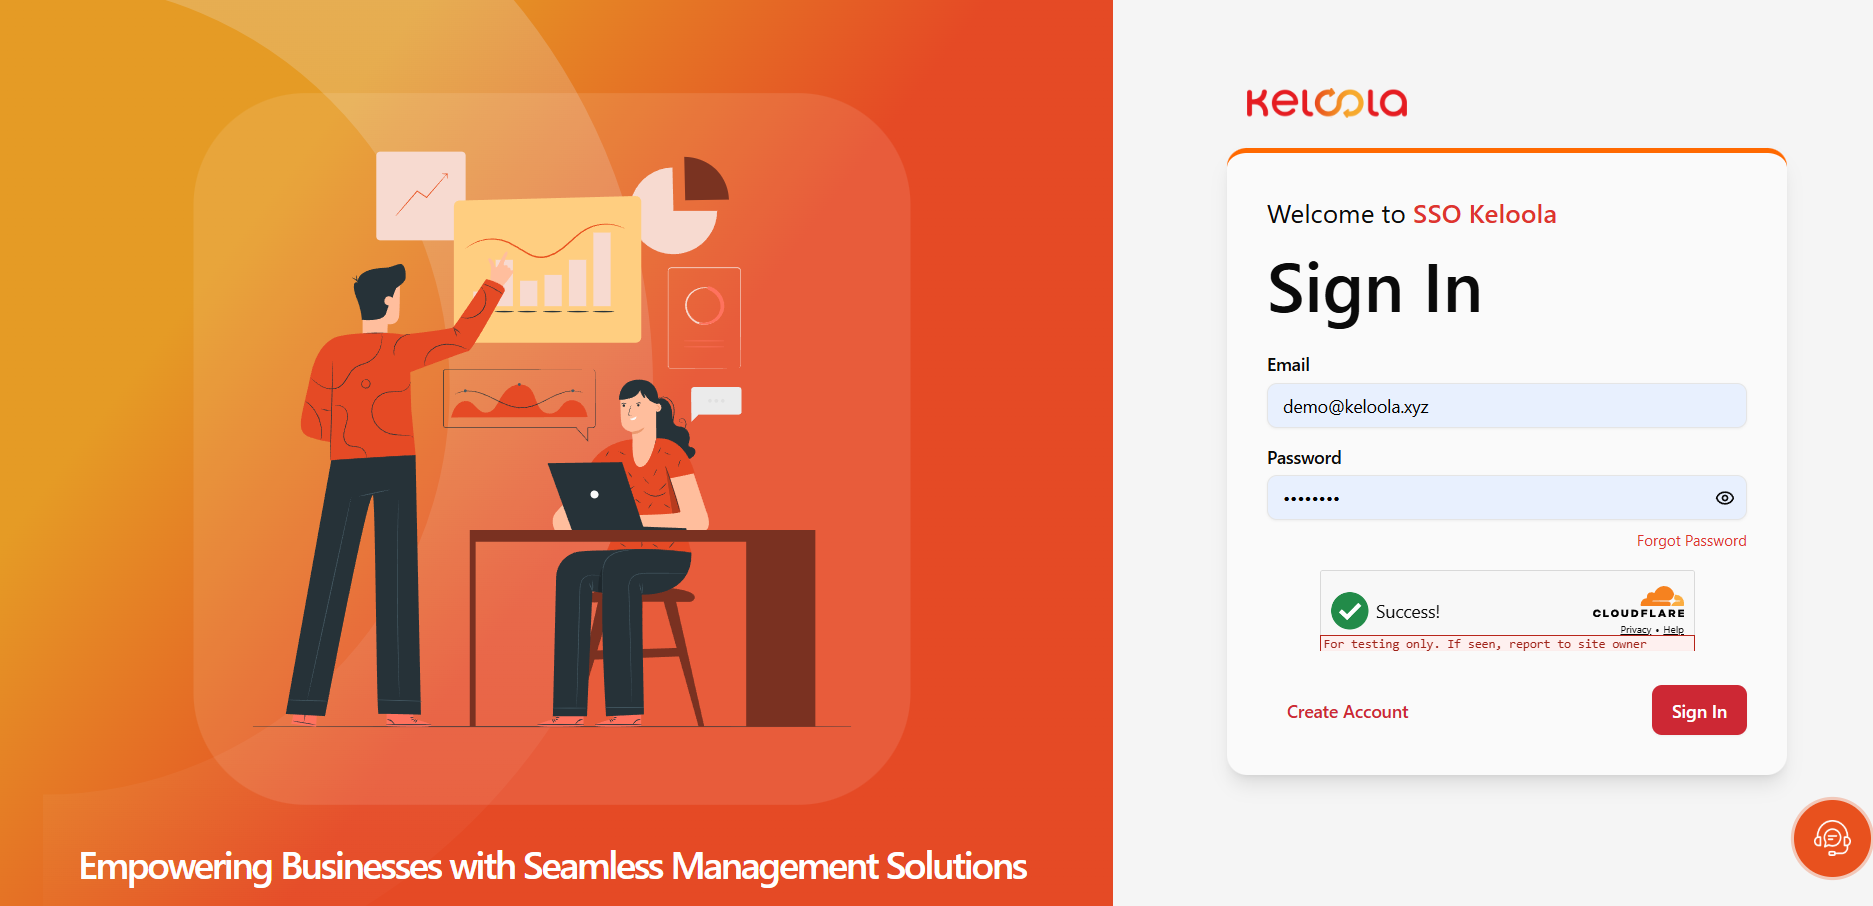
11. Authorize Akses
Setelah login selesai, Claude akan redirect ke halaman Authorize untuk meminta akses. Pada halaman ini, pilih Authorize untuk melanjutkan.
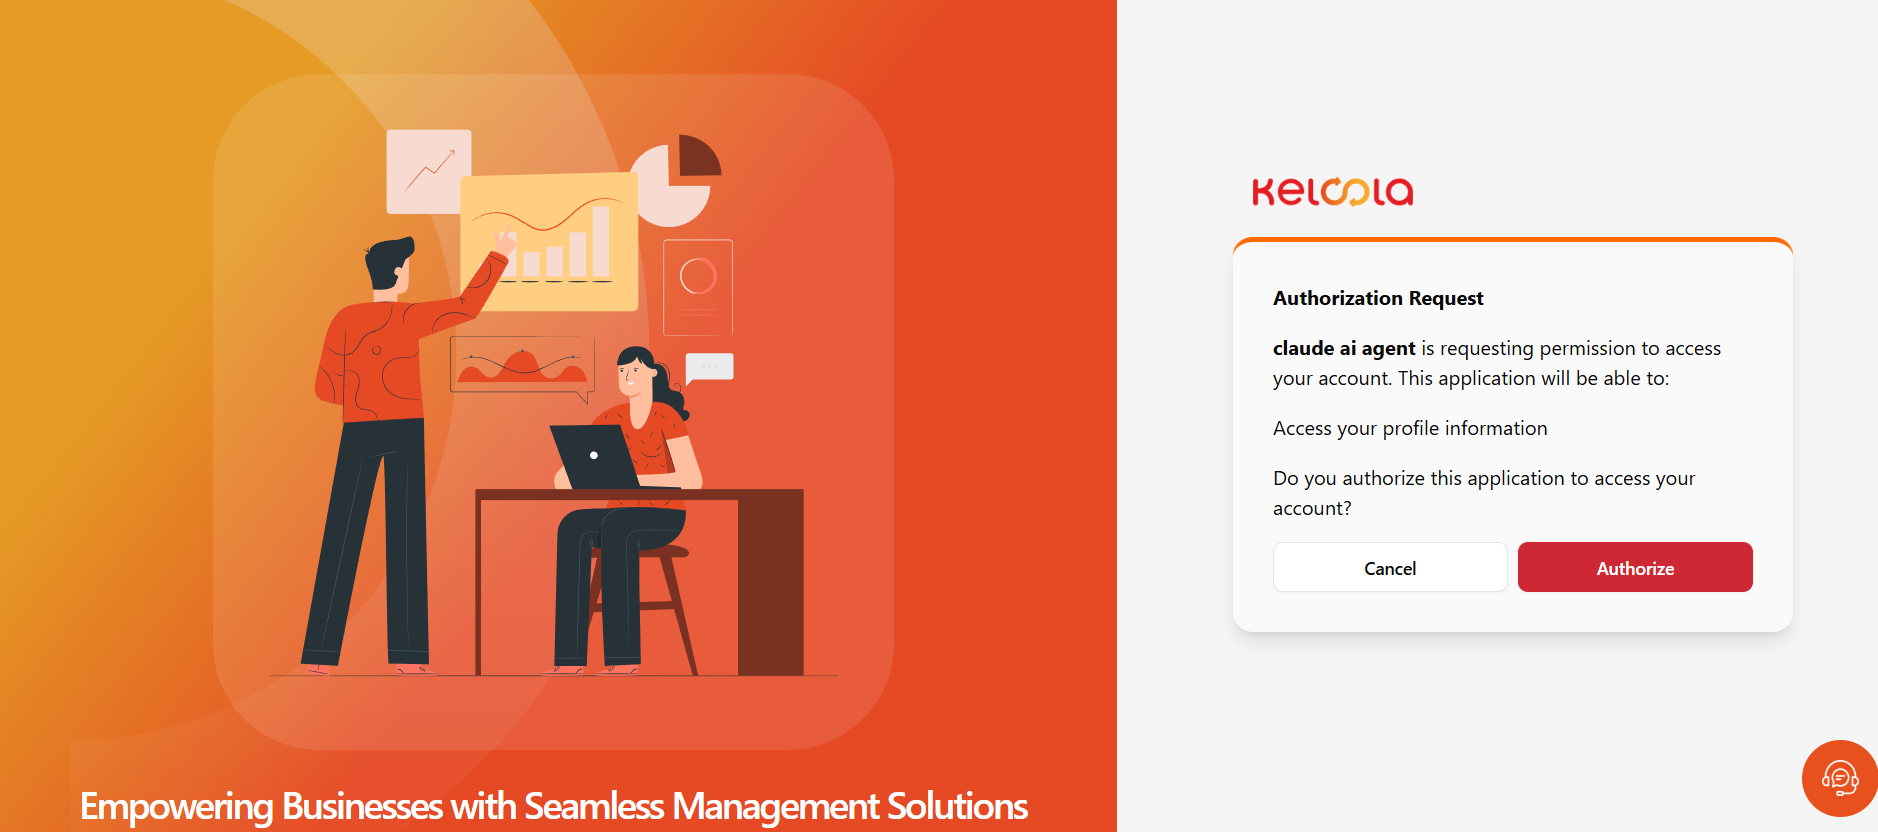
12. Koneksi Berhasil
Setelah izin diberikan, Claude akan kembali ke halaman utama dan MCP siap digunakan.
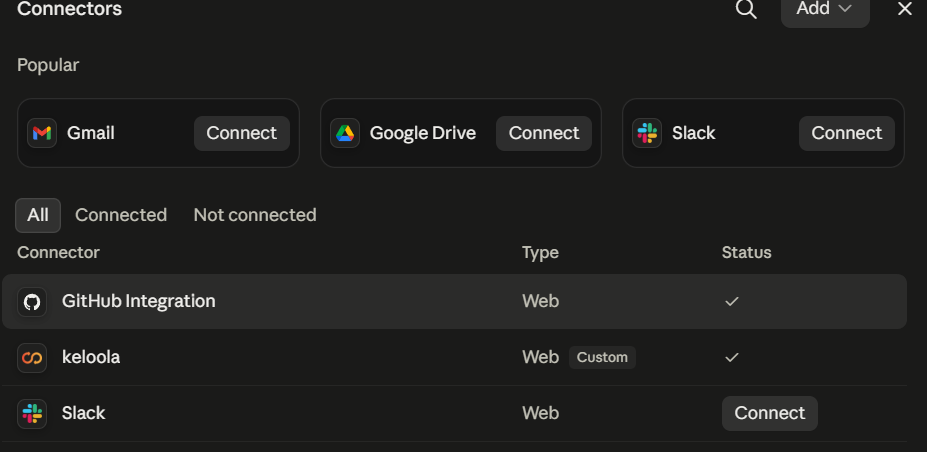
Set up ChatGPT
Ikuti langkah-langkah berikut untuk menghubungkan ChatGPT ke Keloola MCP.
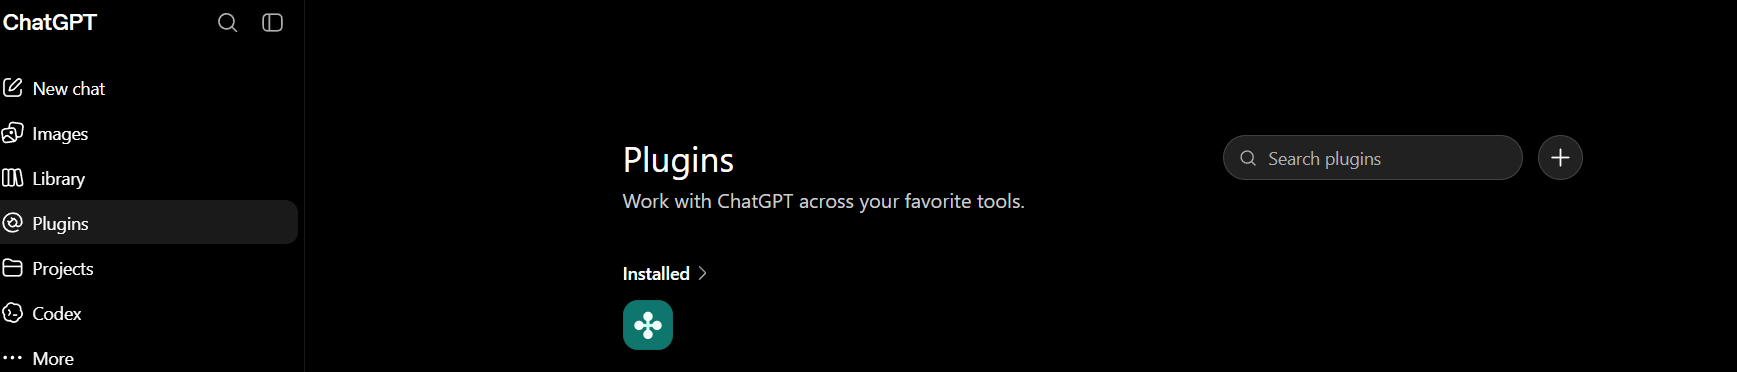
1. Klik Plugin dan Tambahkan App
Klik Plugin di sidebar kiri. Setelah halaman plugin terbuka, klik ikon plus untuk mulai menambahkan app.
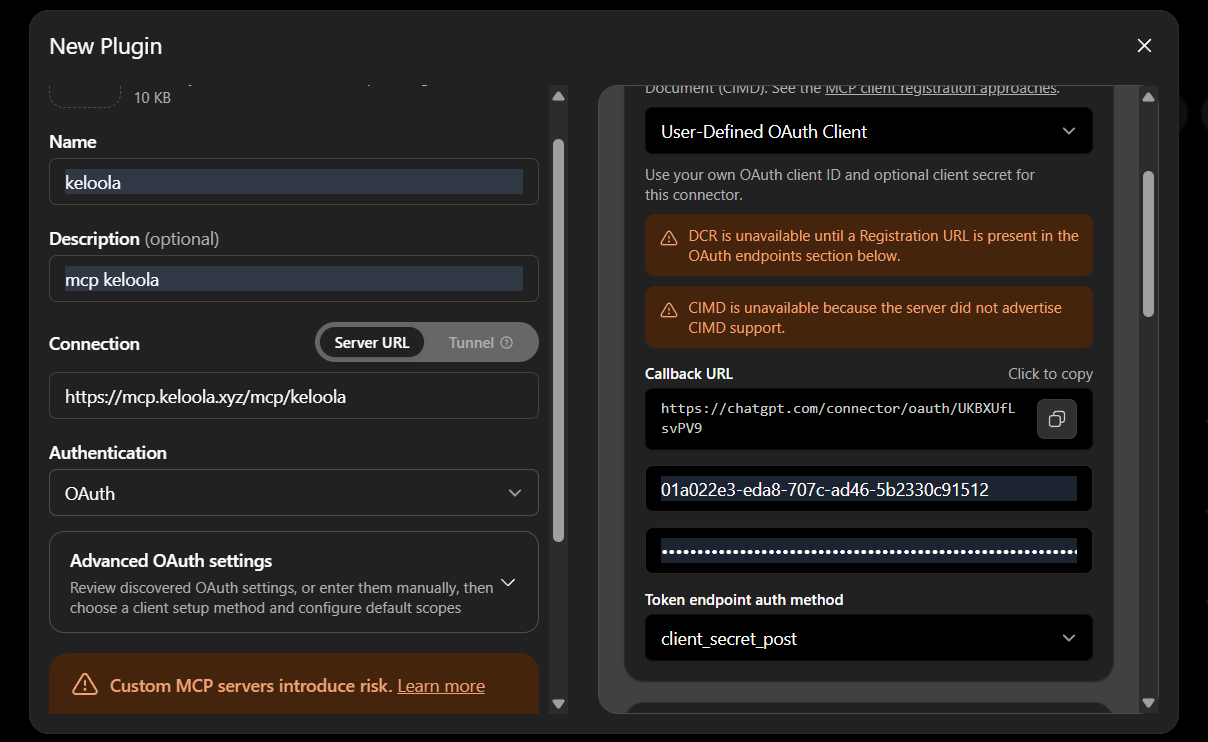
2. Buka Popup Create Plugin
Setelah ikon plus diklik, akan muncul popup untuk create plugin. Isi form utama terlebih dahulu, lalu klik Advanced OAuth Setting dan salin Callback URL yang ditampilkan.
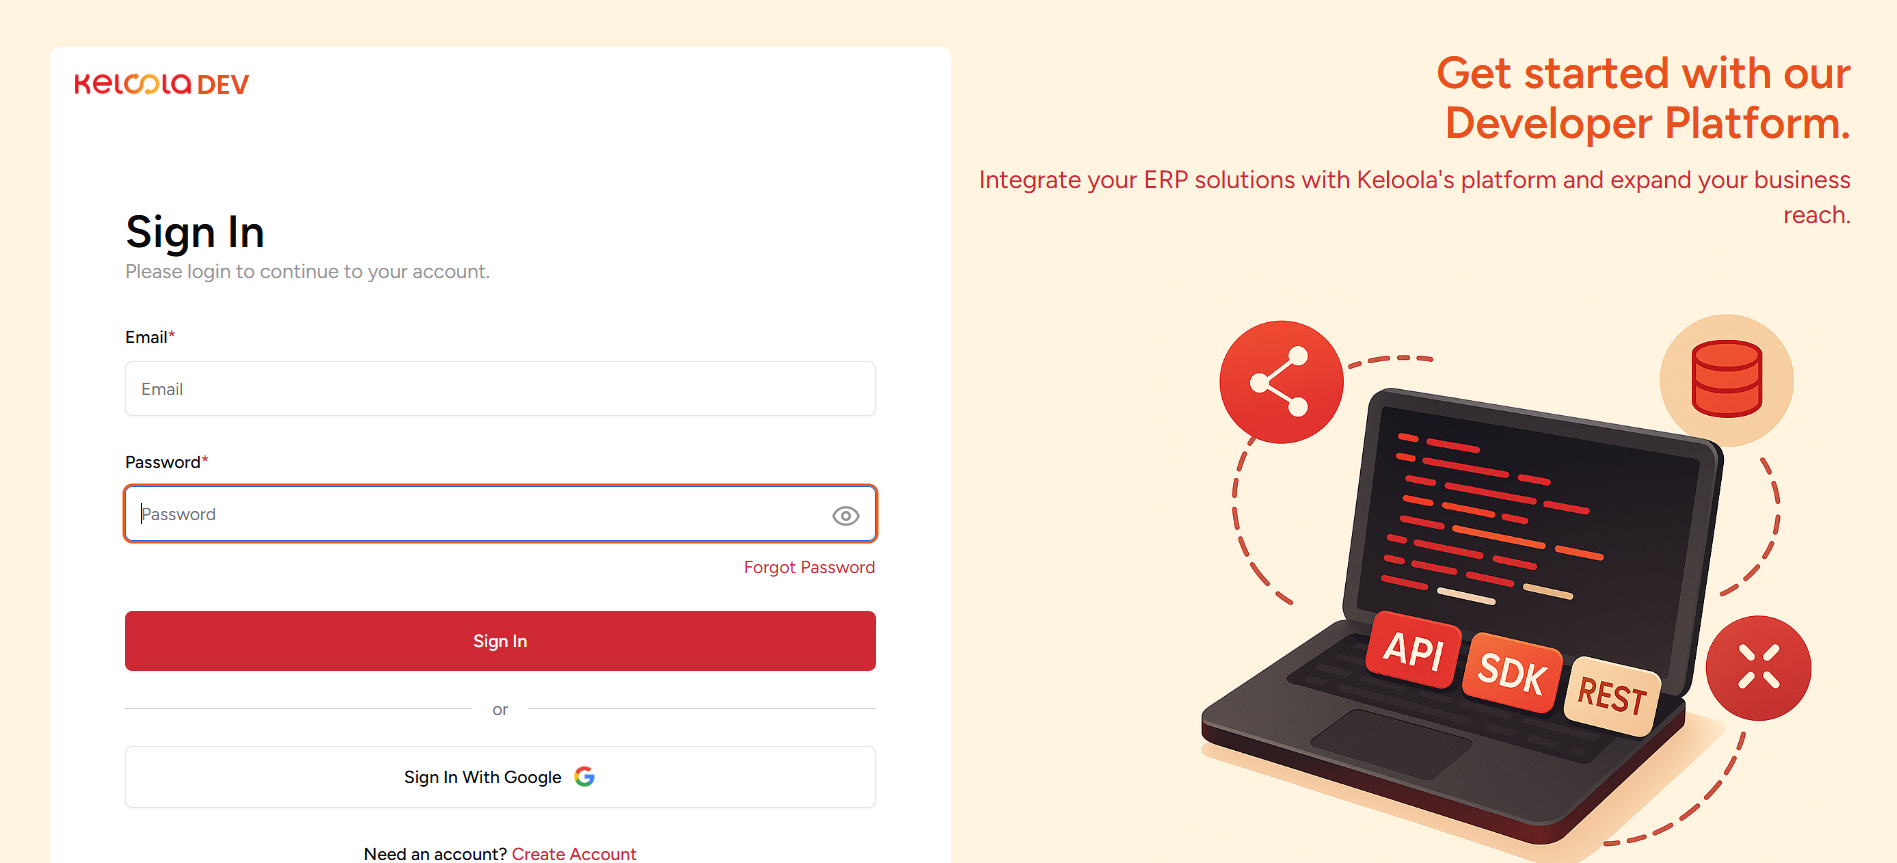
3. Login ke Keloola Developer
Buka halaman Keloola Developer lalu login menggunakan akun Keloola Anda:
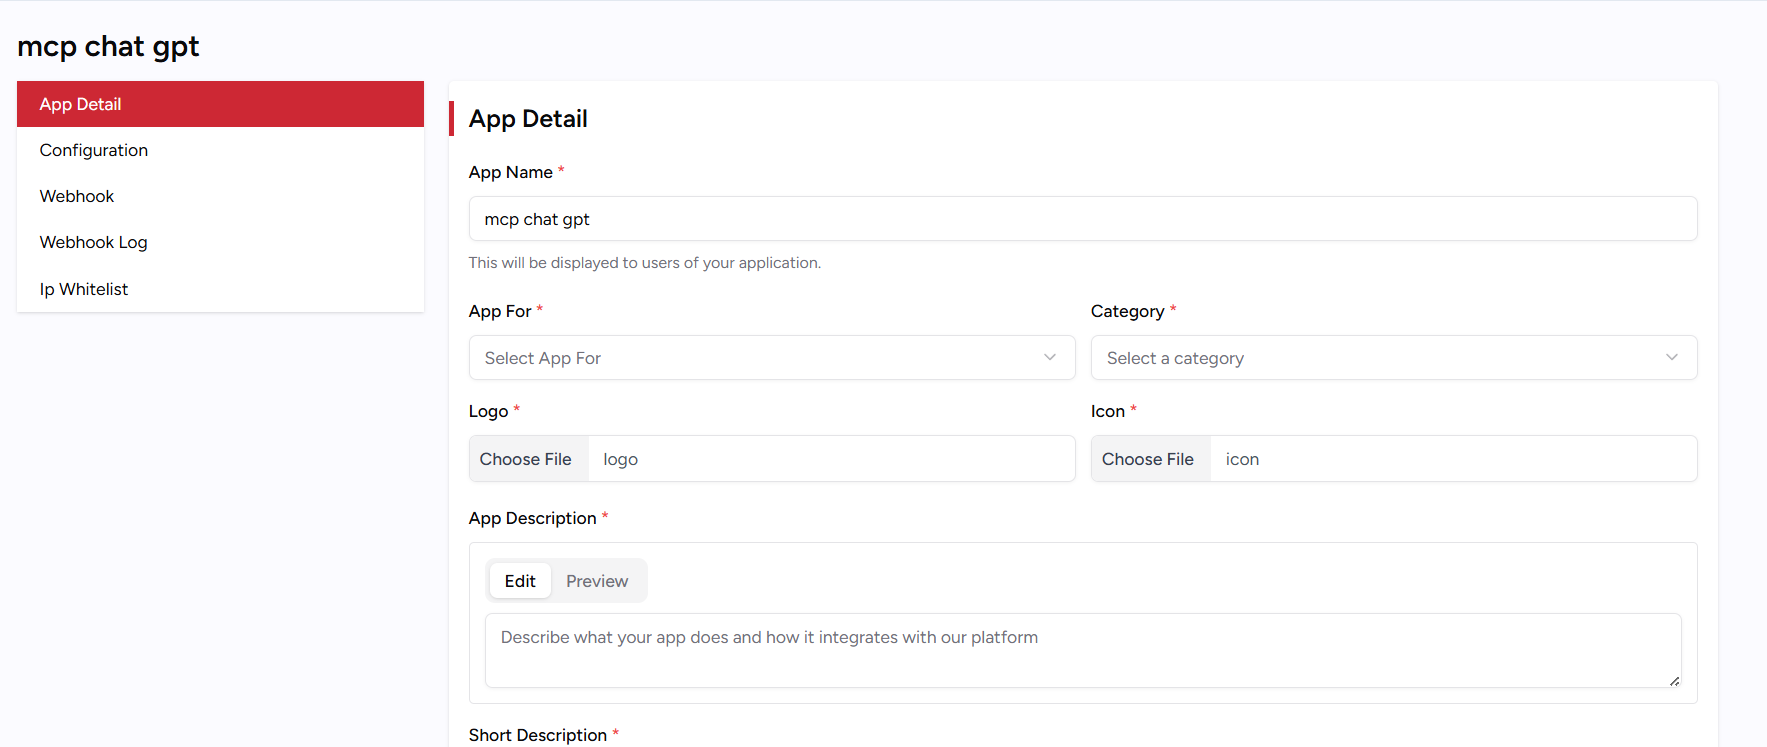
4. Buka Keloola Developer dan Create Application
Setelah login berhasil, klik Create Application untuk mulai membuat application baru di Keloola Developer.
5. Isi Configuration dan Redirect URL
Setelah application dibuat, buka bagian Configuration lalu isi Redirect URL dengan Callback URL yang sudah Anda copy dari step sebelumnya.
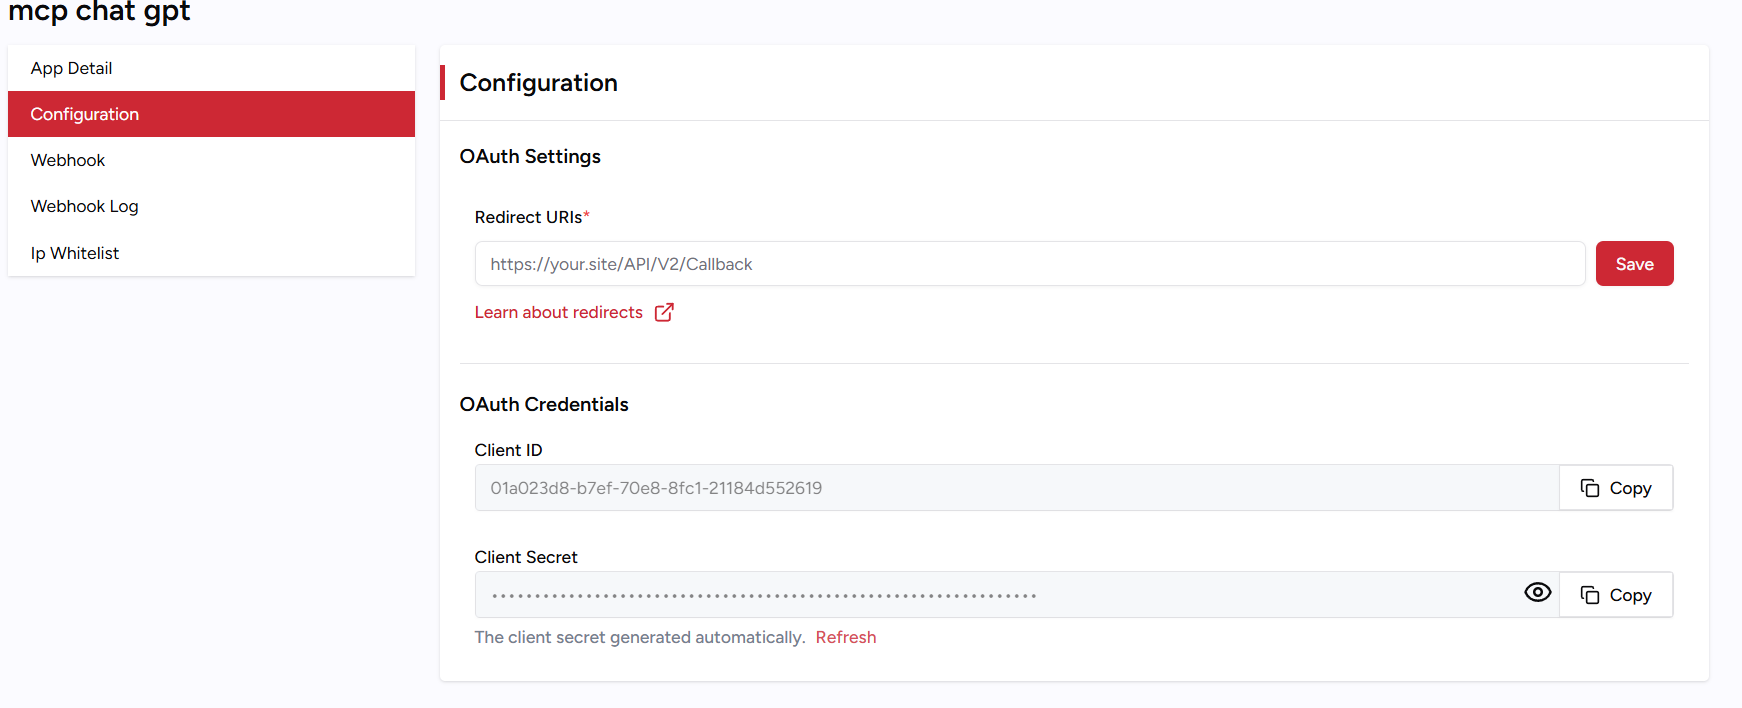
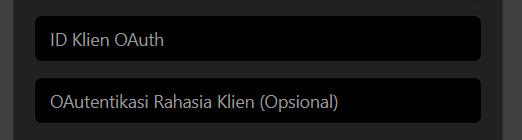
6. Isi Client ID dan Client Secret
Setelah menyimpan perubahan di developer.keloola.xyz, kembali lagi ke ChatGPT untuk mengisi Client ID dan Client Secret.
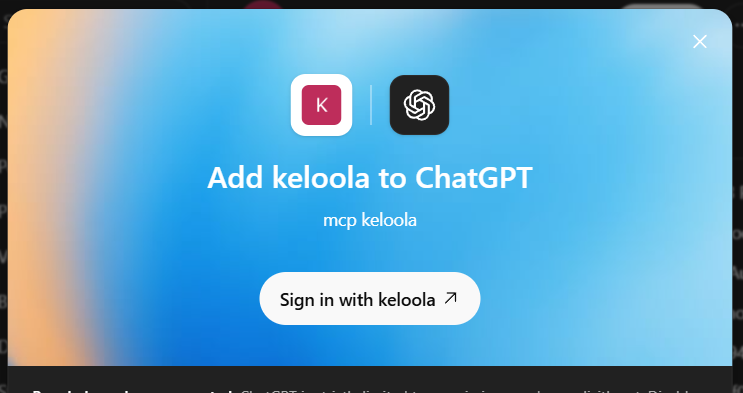
7. Klik Connect
Setelah data disimpan, akan muncul popup untuk Connect. Klik Connect untuk melanjutkan proses koneksi.
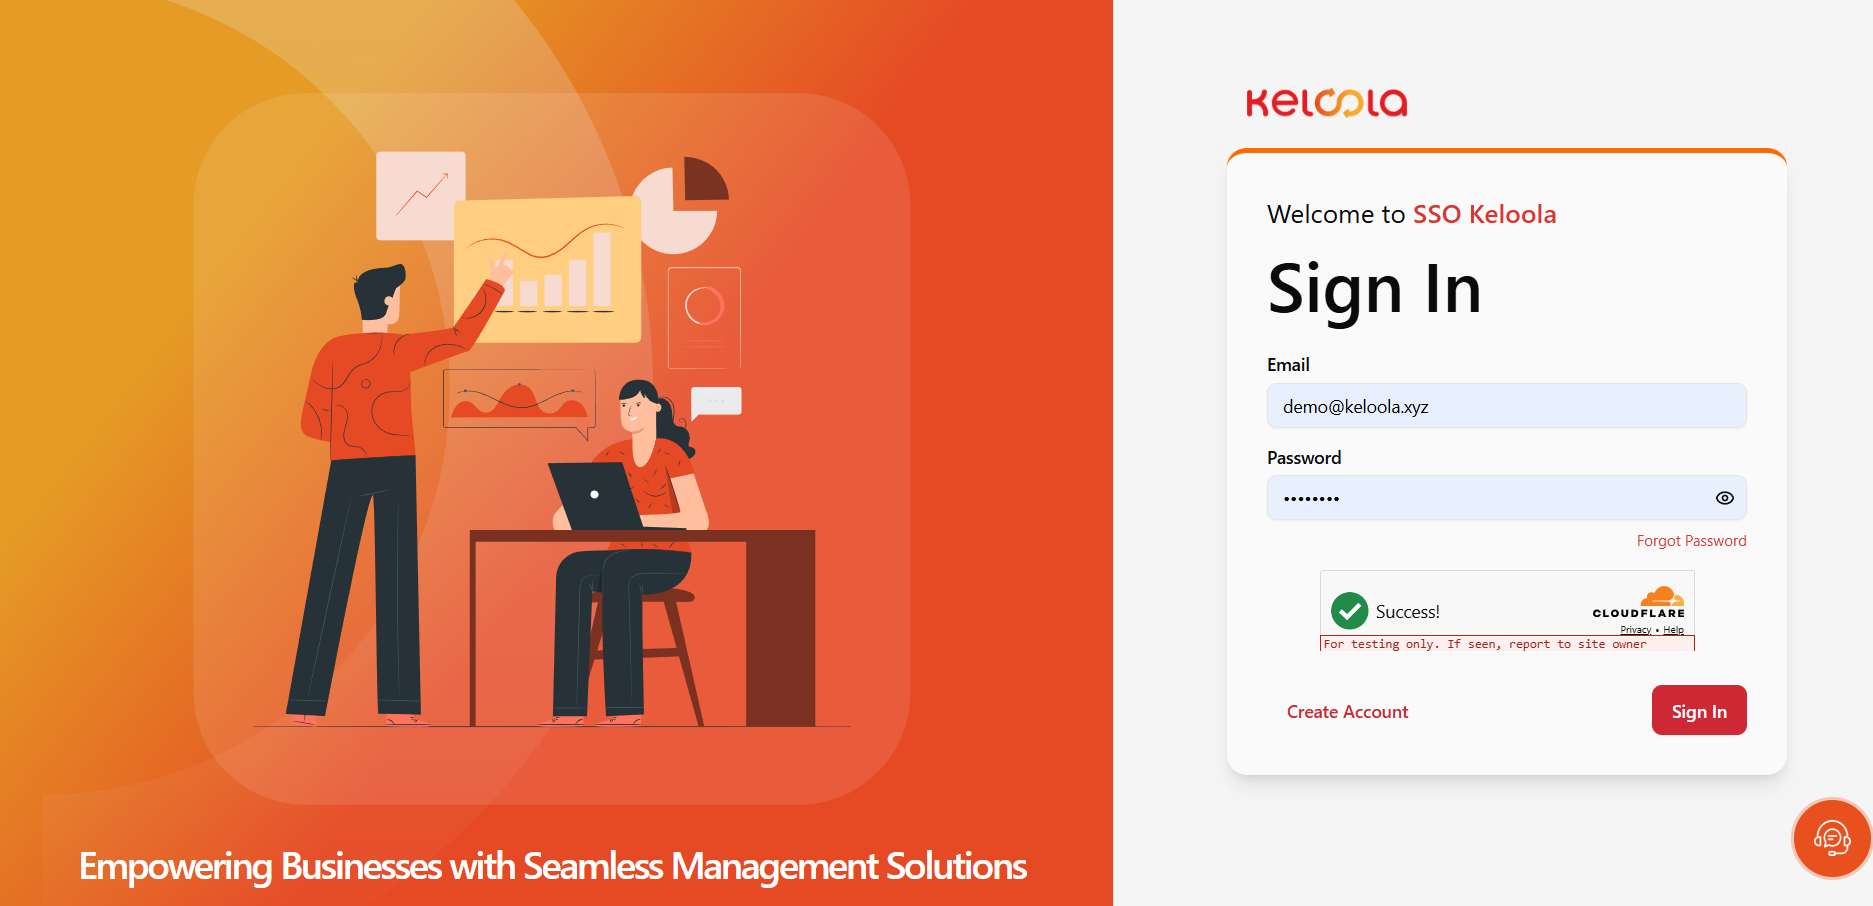
8. Login ke Keloola SSO
Setelah klik Connect, ChatGPT akan diarahkan ke halaman login Keloola SSO. Masukkan akun yang memiliki akses ke Project yang dibutuhkan.
9. Authorize Akses
Setelah login selesai, ChatGPT akan redirect ke halaman Authorize untuk meminta akses. Pada halaman ini, pilih Authorize untuk melanjutkan.
10. MCP Siap Digunakan
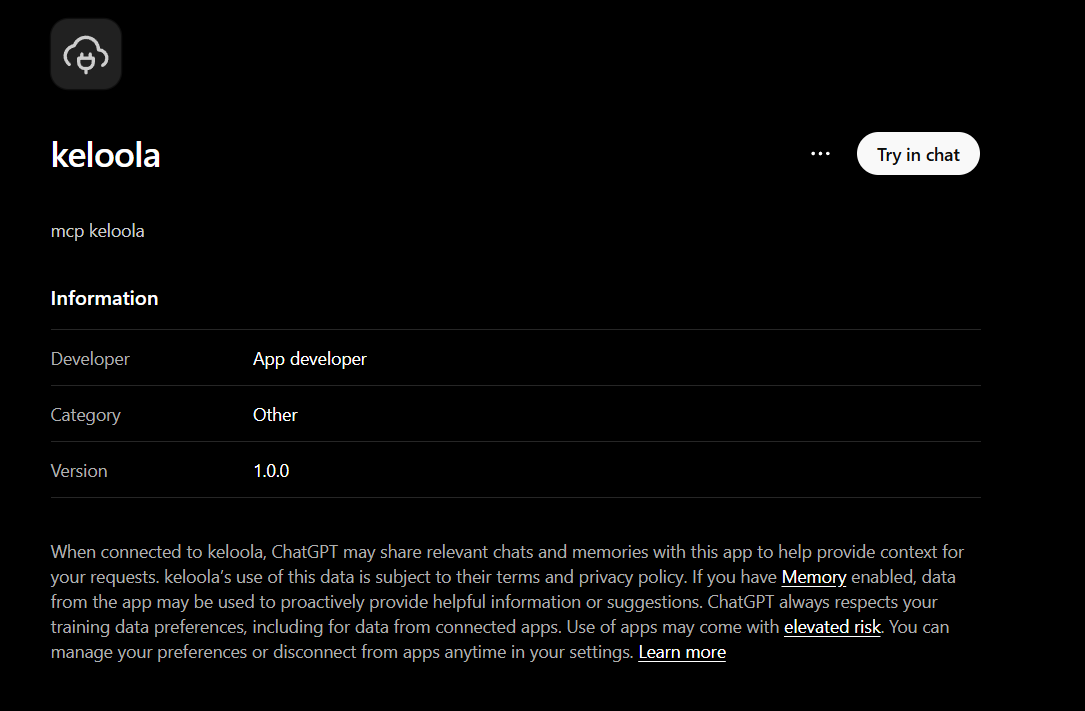
Setelah berhasil, MCP akan terdaftar dan siap digunakan di ChatGPT.
Troubleshooting
| Problem | What to check |
|---|---|
| Client cannot reach server | The MCP URL must be public, HTTPS, and accessible from the client environment. |
| Login succeeds but connection is unauthorized | Check token audience/resource, SSO token validation endpoint, and that the user has Project access. |
| OAuth redirect error | Register the client redirect URI in SSO as an exact match. |
| ChatGPT asks to sign in repeatedly | Enable refresh-token issuance and advertise the applicable offline scope in SSO metadata. |
| No tools appear | Reconnect after OAuth, then scan or refresh the tool list in the client. |
For Keloola SSO administrators
The SSO service owns OAuth configuration. Before onboarding a new client, confirm the following:
- Publish OAuth authorization-server metadata and support Authorization Code with PKCE S256.
- Support DCR or register a separate public OAuth client for each AI client.
- Use
http://mcp.keloola.xyz/mcp/keloolaas the resource/audience for access tokens. - Validate exact redirect URIs and restrict scopes to the required Keloola capabilities.
- Issue refresh tokens for supported clients that request offline access.